A repair can be a design choice
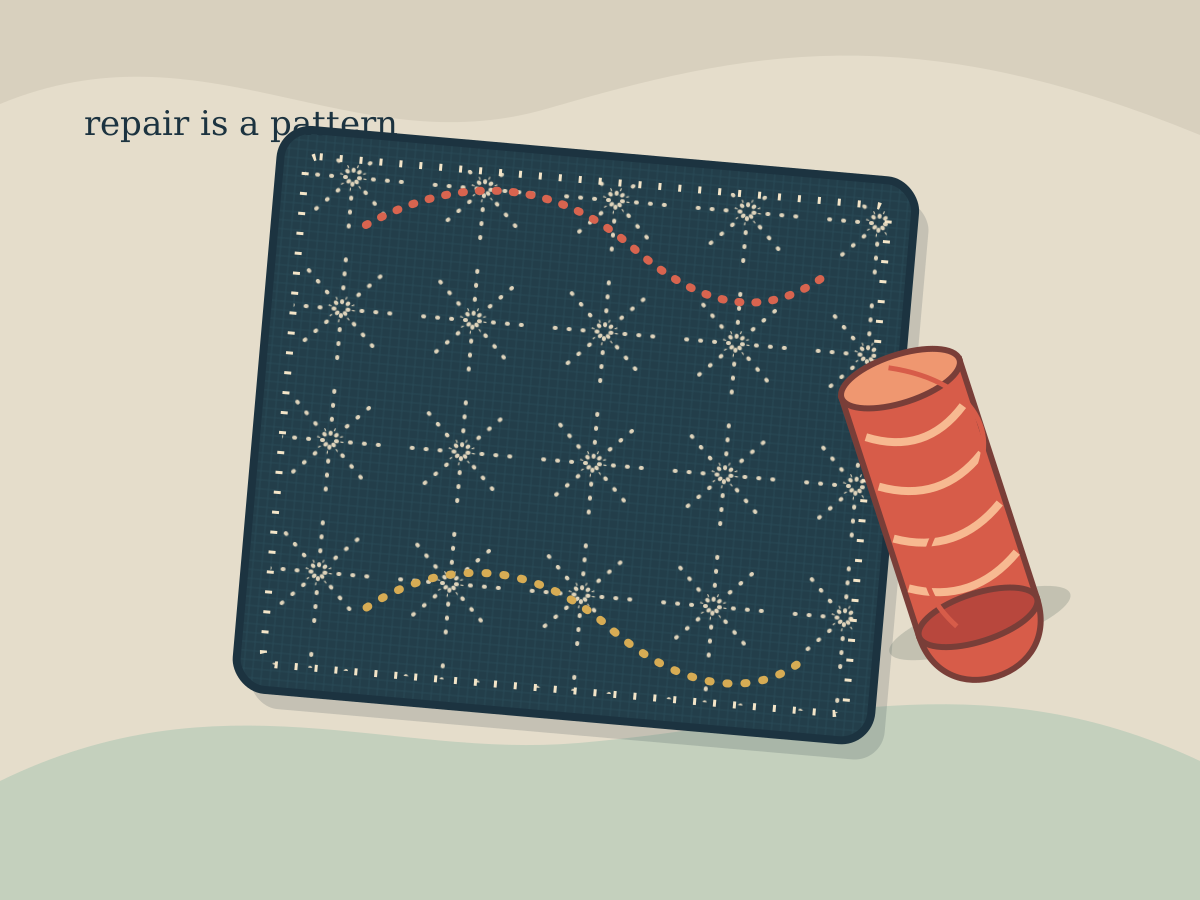
Visible mending starts with attention: where is the cloth weak, and what shape would make the area feel intentional? A patch does not have to hide every trace of wear. It can frame the worn place with colour and a line of stitches that says the garment is still worth keeping. The Sashiko-Inspired Mending Patch uses that idea in a small, approachable format. The design is inspired by repeated geometric stitching, while the actual repair remains yours to shape.
Keep the patch generous
A patch is easier to handle when it extends beyond the worn area. Trim loose threads, leave sound fabric in place, and choose a patch with enough room for your needle to enter and leave without crowding. Finger-folding a narrow edge around the patch keeps loose fibres tucked away. Baste the patch in place before stitching so both layers stay together without stretching the garment or catching the fabric behind it.
- Mark lines with a removable pencil and keep the spacing relaxed.
- Use shorter stitches when you approach a corner or a curve.
- Support the garment in your hand when a hoop would stretch it.
- Secure thread on the back and smooth the fabric gently with your hands.
Leave room for a human line
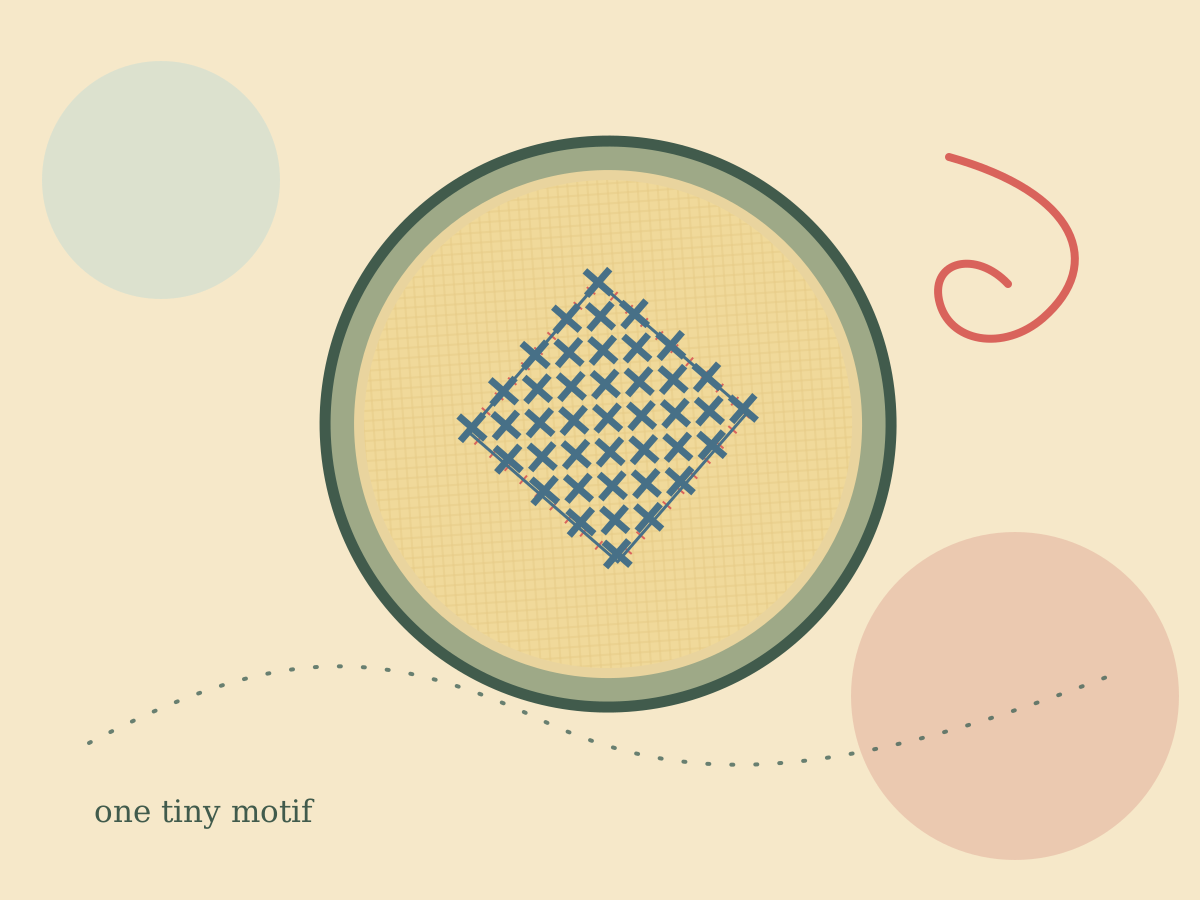
Even rows do not need to be identical. If a stitch lands a little early, adjust the next gap instead of pulling the old one tight. The small shifts are part of the repair’s visual record. For a separate, smaller practice surface, the felt Running Stitch Bookmark gives you the same basic motion without the extra garment layers, while the Tiny Cross-Stitch Sampler lets you practise counted placement when you want a more measured rhythm.