Begin with equal panels
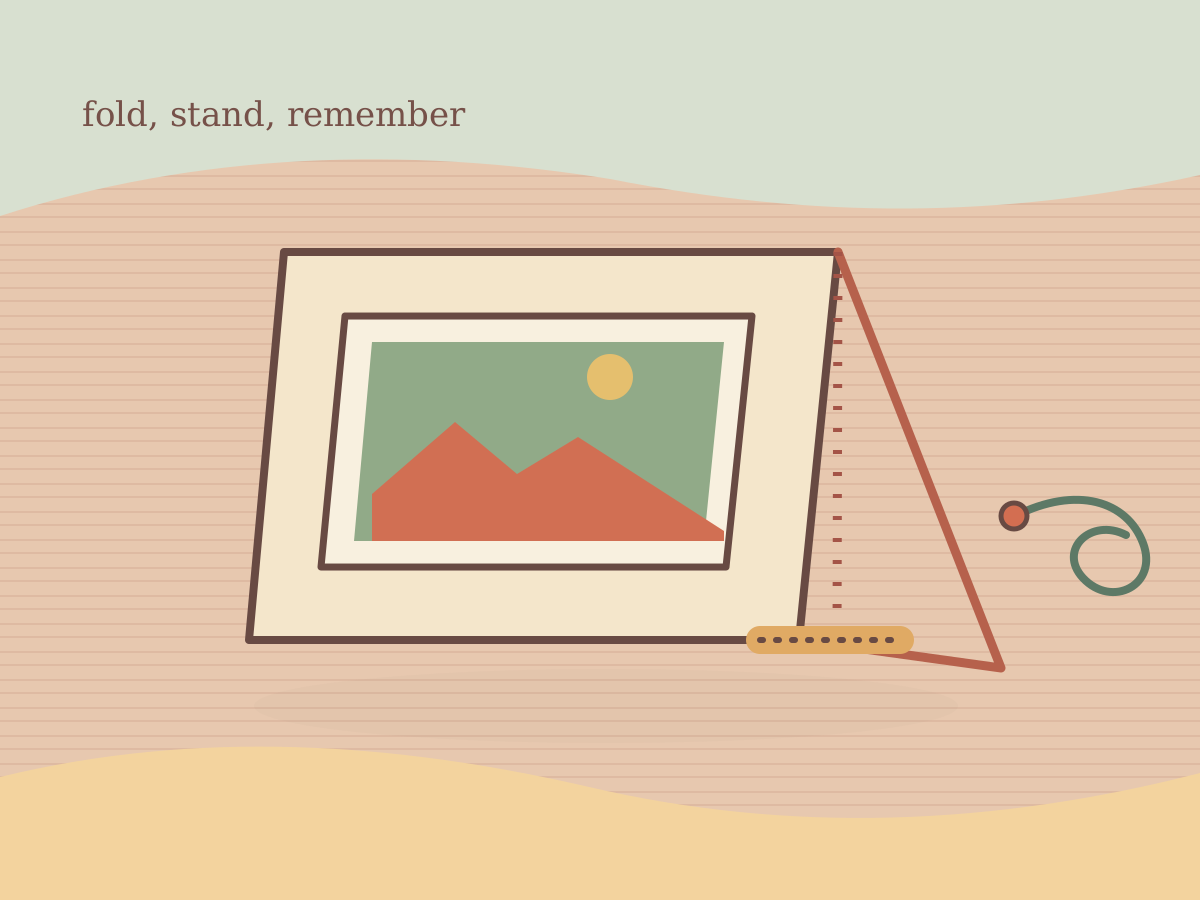
The Folded Photo Display relies on two equal tent faces, so accurate trimming matters more than decorative paper. Cut the cardstock to 7 inches wide by 10 inches high and mark a horizontal line 5 inches above the bottom edge. Score that single mark before folding. A ruler and the back of a spoon make a clear crease without cutting the fibres, and folding from the centre outward keeps the two faces aligned.
Centre one photograph
One 6 x 4 inch landscape photograph fits comfortably on a 7 x 5 inch face with a 1/2 inch margin on every edge. Centre the photograph, apply a light, even coat of photo-safe glue stick all the way to its edges, and smooth it from the centre outward. A paper stop inside the tent controls the opening while the photograph stays flat and visible.
- Fold a 3 x 1/2 inch stop strip at 1/2 inch from each end.
- Glue only the folded ends inside the two bottom edges, leaving a 2 inch flat span.
- Keep the stop flat across the base gap so it does not pull against the centre fold.
The tent shape provides its own support on a flat surface once the stop is dry. If it springs open, press the crease again and check that the two folded stop ends are secure. Keep the display upright while the glue settles. The finished piece is a neat fixed-photo display; for another version, repeat the same 7 x 10 inch, 7 x 5 inch, and 6 x 4 inch measurements with a fresh sheet.