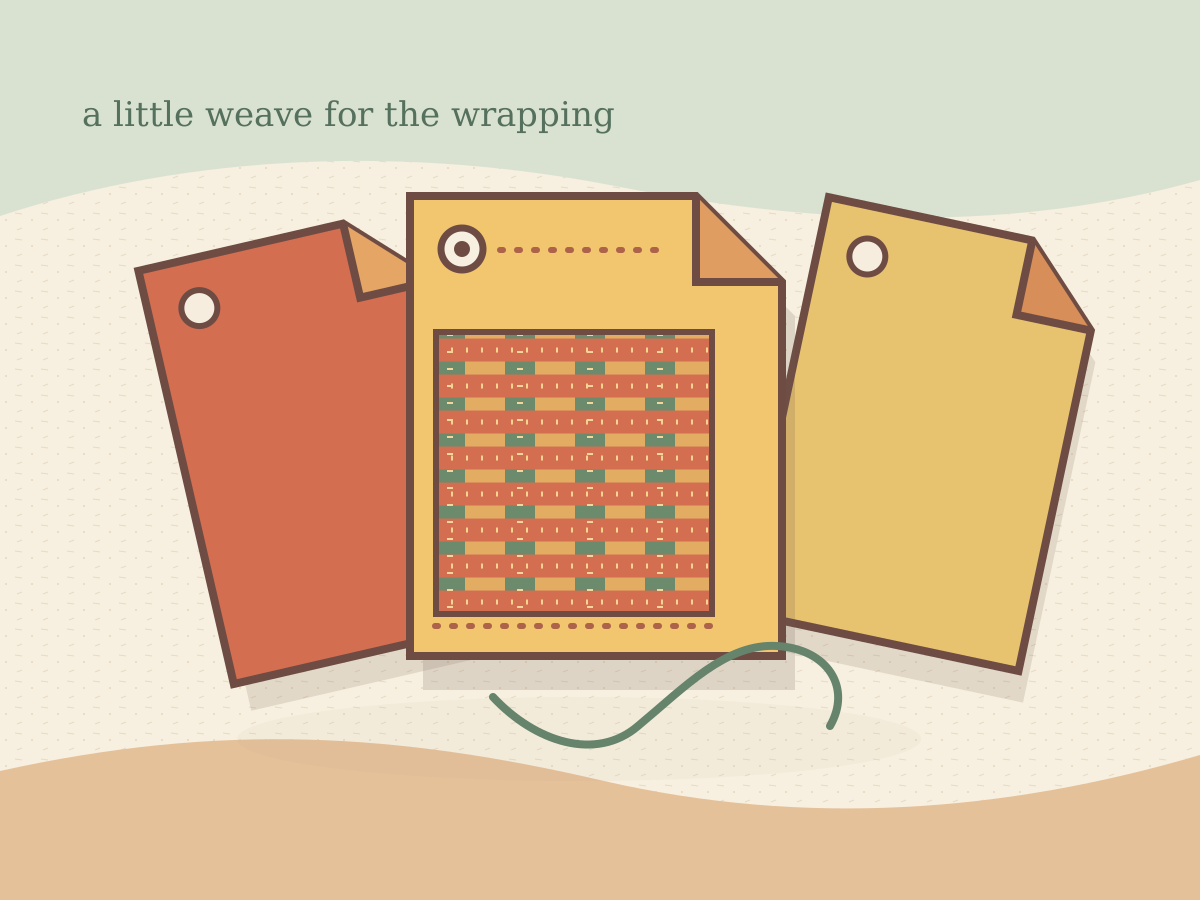
Measure a small weaving field
Paper weaving is easiest when the strips are a little longer than the area they will cover. Each Paper-Woven Gift Tag uses four 1/4 x 2.5 inch vertical strips and eight 1/4 x 1.5 inch horizontal strips on a 2 x 3.5 inch cardstock base. The woven panel is 1 x 2 inches, leaving 3/4 inch clear above for the hole and 3/4 inch below for a note.
Alternate each row
Lay four vertical strips first, then take each short strip across them perpendicular to the first direction. Begin the first row over one vertical strip and under the next; start the following row under that first strip, then alternate again. Use low-tack tape outside the panel to hold the verticals while you work. If a strip buckles, lift it back to the last correct crossing rather than pulling the paper tight.
- Keep the strip ends about 1/4 inch beyond the panel until the crossings are secured.
- Add tiny glue dots under the four outer crossing areas before trimming protrusions.
- Punch the hole through the clear cardstock top, away from the woven panel.
Make one tag first and use it as the spacing sample for the other two. A different paper colour in alternating rows is enough contrast for the checkerboard to read. Once the mounted panel has rested under a book, turn the tag over and write on the plain lower area. The woven face supplies the decoration while the reverse remains practical.
Keep a ruler beside the finished tag so the three panels share the same centred placement.