Let circles become petals
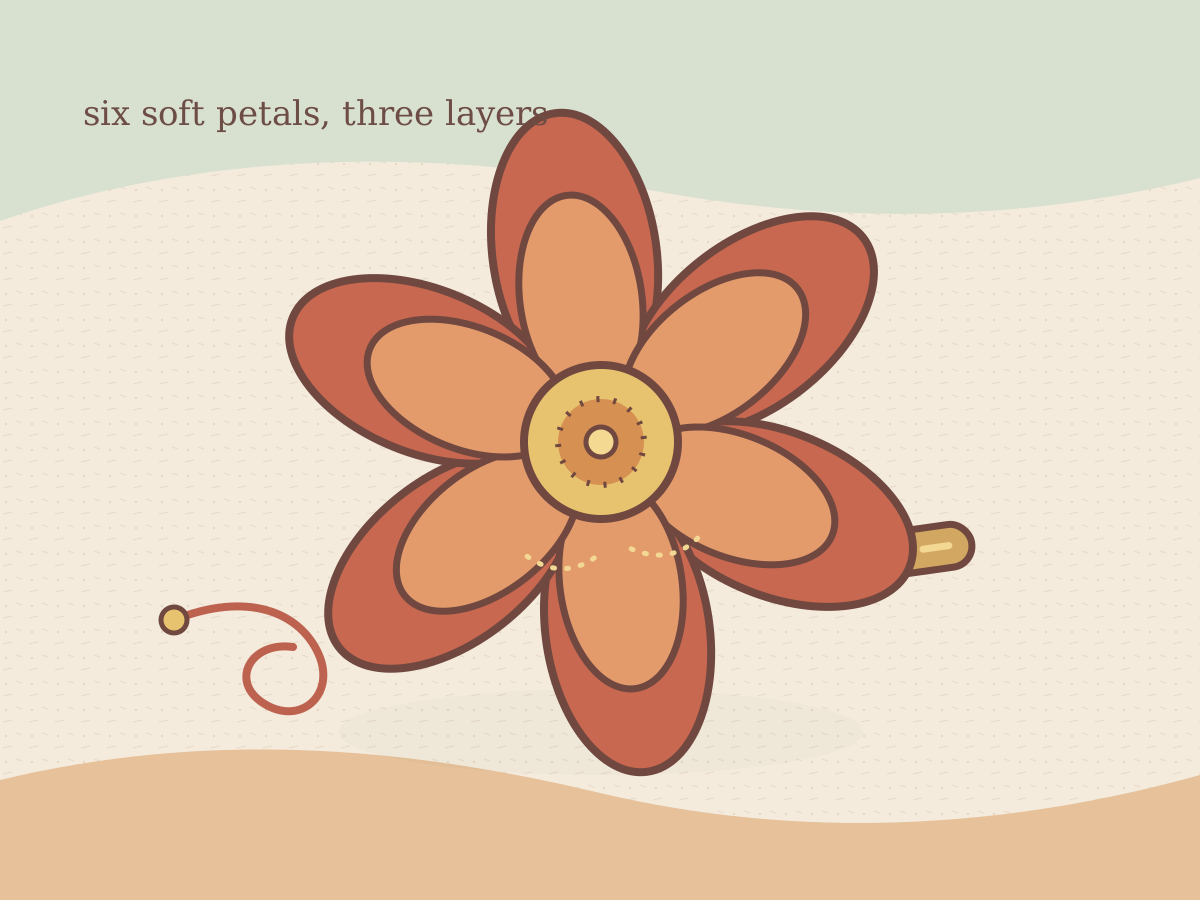
The Felt Flower Brooch starts with three 2.5 inch felt circles. Two circles receive six cuts from the edge toward the centre, stopping 1/2 inch before the middle. Round each new petal tip with the scissors instead of folding it; the uncut centre keeps every petal connected. The third circle stays whole and supports the layers. Draw the marks with a ruler or by tracing six points around a paper guide so the petals do not become dramatically different sizes.
Stagger and secure the layers
Place the uncut circle underneath, then rotate the two petal layers until one layer’s gaps are covered by the next layer’s rounded petals. Keep the layers flat while you sew. Five passes of floss through the centre are enough to stabilise the shape before the bead is added. Sew the pin bar to the 1.5 inch backing circle before joining that circle to the flower, so the pin remains accessible.
- Use two colours for a quiet layered effect or three for a brighter centre.
- Check the flower’s width after cutting; it should remain close to 2.5 inches.
- Sew the 1.25 inch brooch pin bar to the backing circle before the backing meets the flower.
A wooden bead gives the centre a small point of focus, but the flower is complete only when the backing is sewn all around. Test the clasp and tug the backing gently before trimming the thread. Pin it to a jacket, tote, or scarf after checking that the fabric can support the weight. A second flower can use the same pattern with a smaller centre circle for a different proportion.