Start with a firm, forgiving fabric
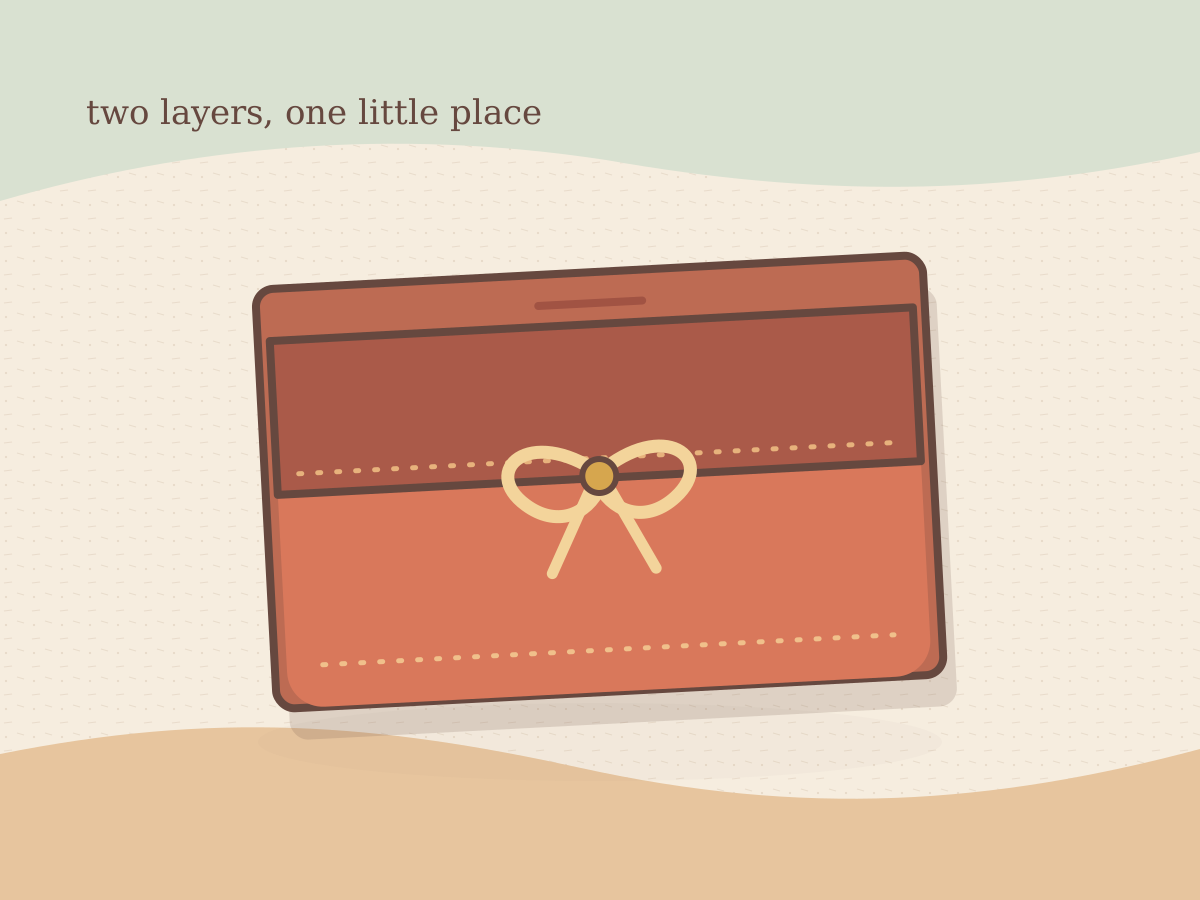
Felt is friendly for a first pouch because its edges do not fray while you measure and stitch. Cut one 6 x 12 inch rectangle for the Felt Envelope Pouch. Mark horizontal lines 5 and 10 inches above the bottom: the lower five inches fold upward, the middle five inches become the body, and the remaining two inches become the flap. Before cutting, draw the folds on paper and check that the flap covers the body opening.
Let the fold do the work
The pouch is easiest when one piece of felt stays aligned through every stage. Fold the lower five inches upward until its edge meets the 10 inch mark, then backstitch the two five inch side seams only. The folded bottom needs no crosswise seam. Leave the flap free, and use a ruler to check that both side edges meet before adding stitches.
- Use a removable marker on a scrap before marking both fold lines.
- Keep each side seam about 1/8 inch from the edge and stop at the folds.
- Sew one 8 inch ribbon to the flap tip and the other to the matching front point.
Finish by tying the two ribbons in a flat bow with the pouch empty and then with a few paper notes inside. The bow should close without pulling the felt. A slow first pass is more useful than trying to make every stitch identical; the repeated side seams give the small object its structure and character.